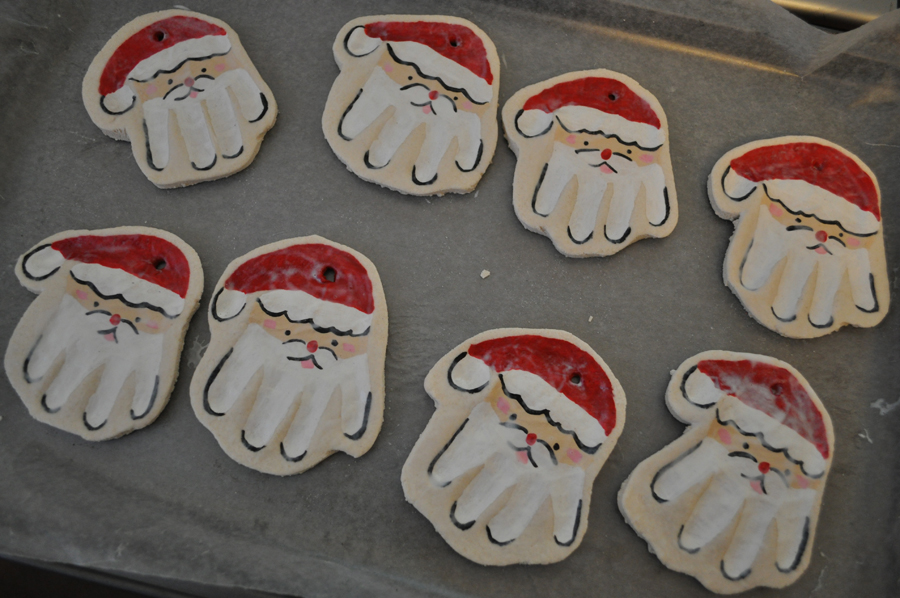
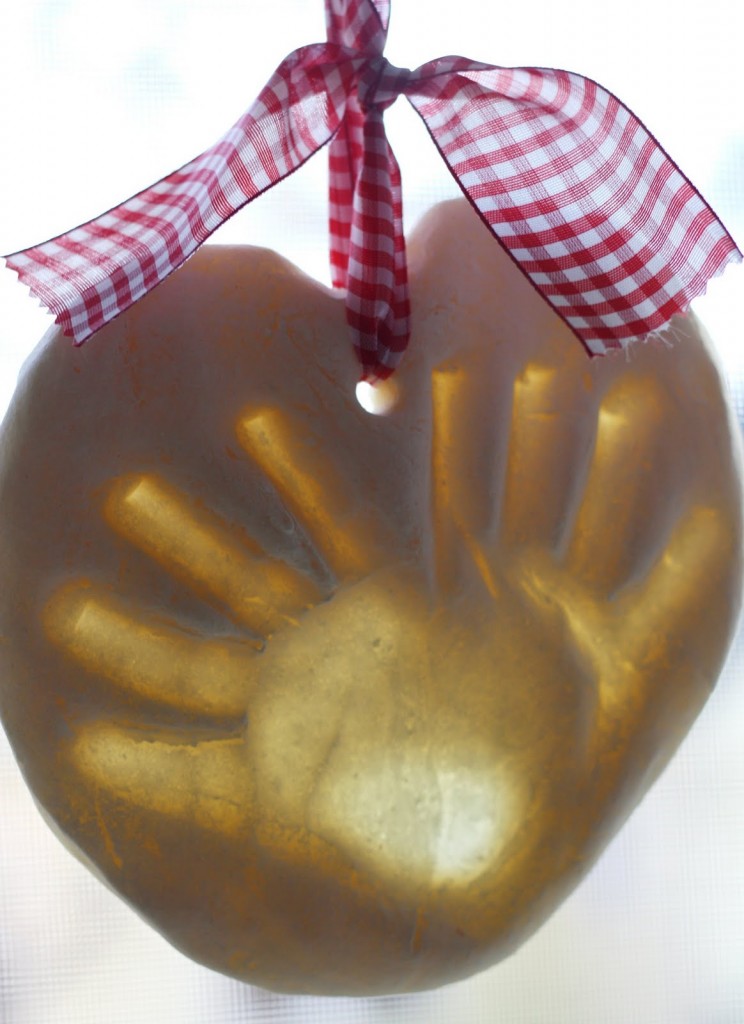
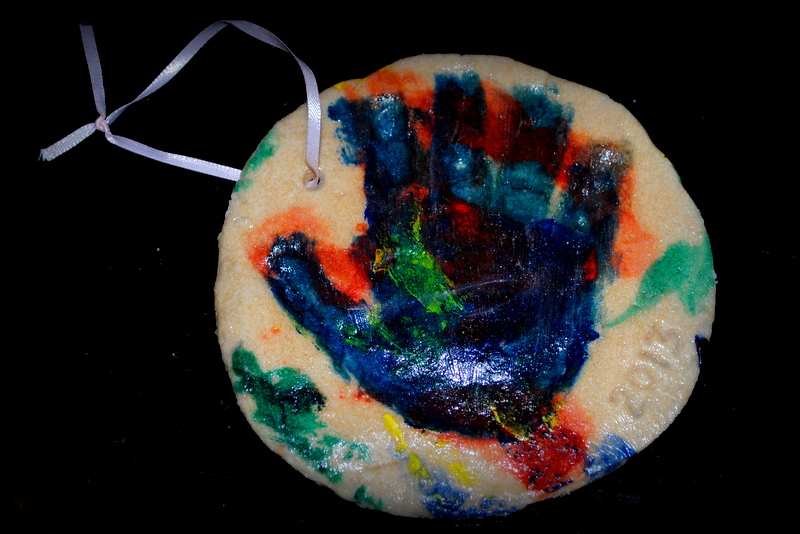
Salt dough handprints are amazing holiday crafts as they are easy, fun to make, preserving precious memories and making perfect gifting ideas for your parents and grandparents. Here we give you step by step instructions for making salt dough handprints.
Things you will need
-
2 cups flour
-
1 cup salt
-
½ cup water
-
A large mixing container
-
A rolling pin
-
Sheets of wax paper
-
A straw or toothpick
-
Acrylic or poster color / food colors (preferably light shades)
-
Paintbrush
-
Ribbons or strings
How to make
- Mix the flour and salt together in the mixing container.
- Add about half a cup of water to the flour-salt mixture.
- Knead well; you may need to add a little more water if the dough is too stiff or breakage-prone. Make sure the final dough is about as firm as polymer clay.
- You can add some food color or poster color to the water if you want colored dough. In this instruction, the ornaments will be painted once they are done.
- Take enough dough to make a smooth ball as big as the size of a baseball.
- Use a rolling pin to roll out the dough on a wax paper. Try to keep it as neat and round as possible, making sure that it is about ½ inch thick.
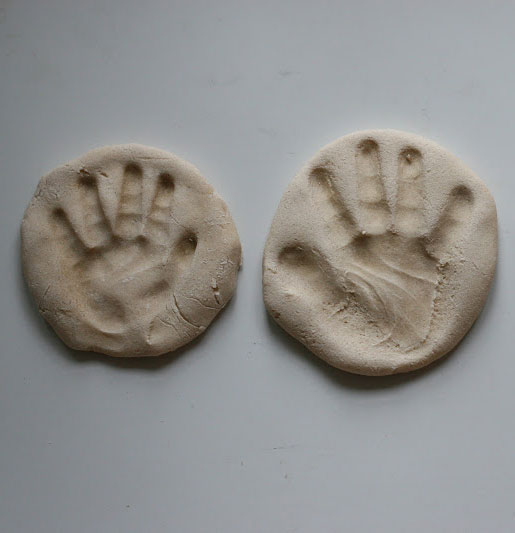
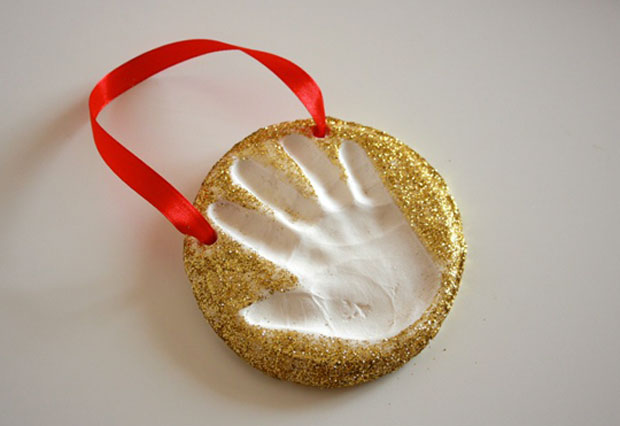
- Now comes the fun part as you have to press your hand in the rolled out dough to take your handprint. You may have to press your fingers individually into the dough to make a clear imprint as the prints tend to rise up a little when baked. Take care not to press too hard or you will end up with holes in your dough instead of a handprint (you may ask for an adult’s help). At this stage, the ornaments should look like the ones shown in the picture below.
- Put the dough on a fresh wax paper sheet and make two holes (around ½ inch apart) at the top end, using a straw or a toothpick, to string a ribbon and hang the ornament once it is complete.
- Next, bake the ornament at 250°F for about 2 to 3 hours. (ask for an adult’s help to do the baking)
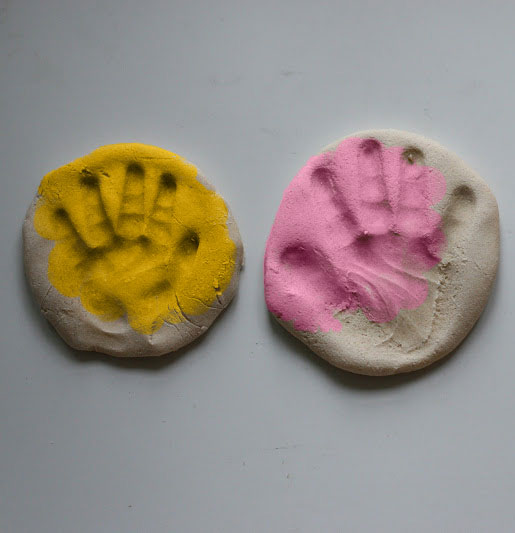
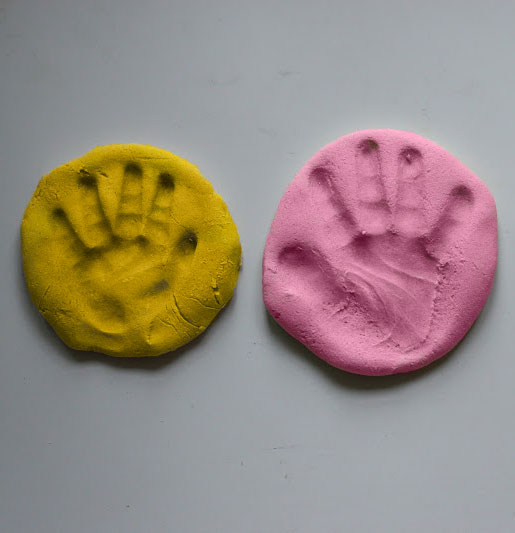
- Now, pick a color of your choice and grab your paintbrush as it is time to add some color to your handprints. Using wider brushes is a good idea as it allows you to finish the job quicker. (Make sure to cool them before you can paint and decorate them)
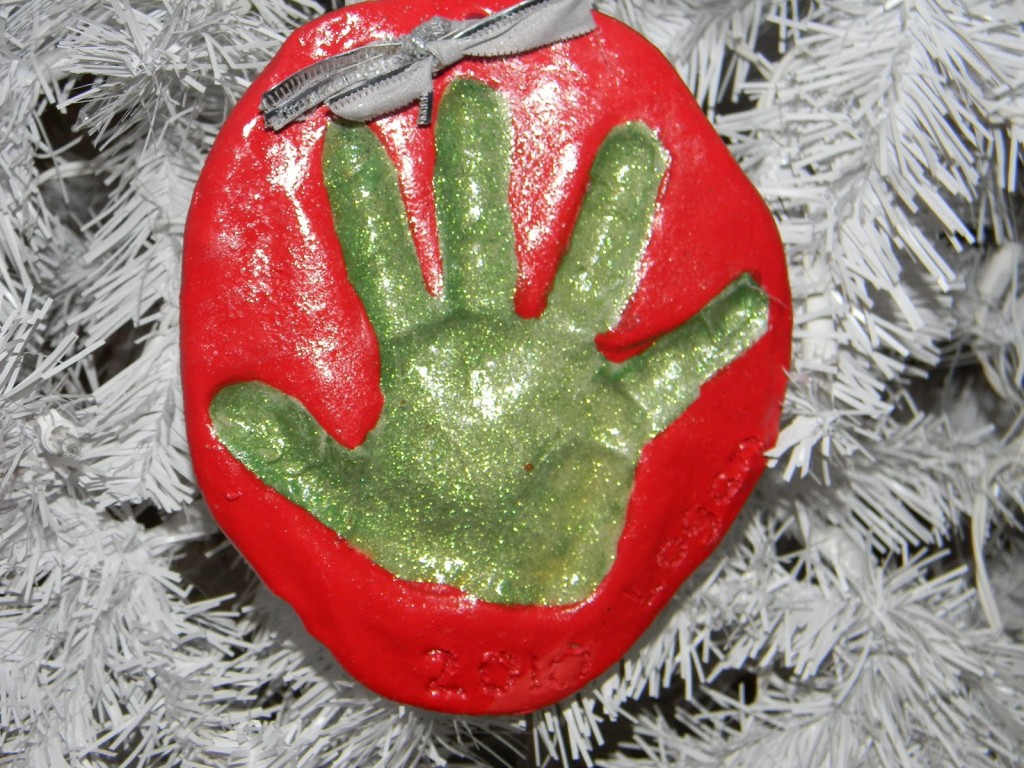
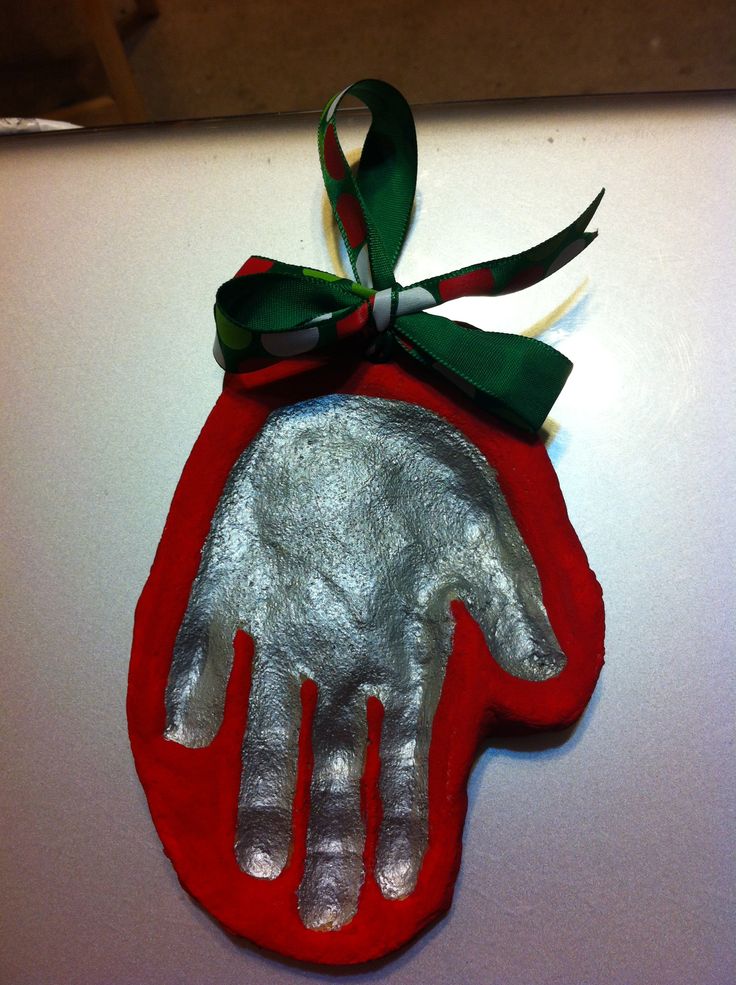
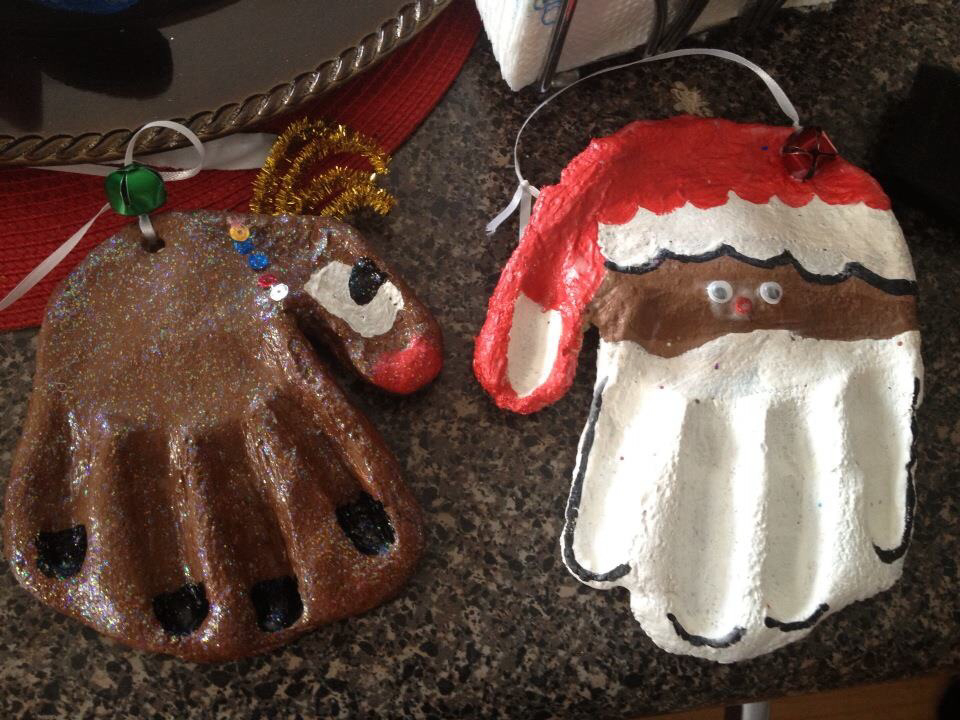
- There are numerous innovative ways of decorating your ornaments as you can sprinkle some glitters to make dazzling handprints or write your name and the date to save it as a keepsake. If you are using poster color, adding a layer of white glue after drying the color is an easier way to make your ornaments shiny and unique.
- Now pass a matching colored ribbon through the holes you made earlier and your ornaments are ready.
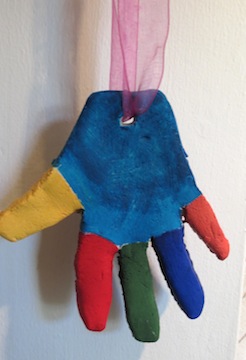
Here are some amazing things you can do to decorate the handprints.

