Drawing a neat Christmas tree becomes each kid’s ambition as the month of December draws near. Knowing how to draw a colorful Christmas tree, along with Santa Clause and reindeer pictures, can be a great help when planning handmade home decorations using themed posters and cut-outs. So, here is an easy, step-by-step drawing to help you draw a neat Christmas tree with twinkle lights and decorations.
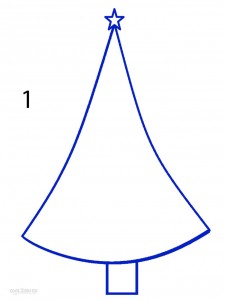
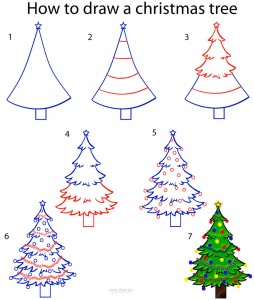
Step 1
- Begin your drawing by making a tall skirt shape with a pointy top as shown in the picture. This is the outline for your Christmas tree crown.
- Next, make a little start on top of the skirt shaped outline followed by a small rectangle at the base for the tree trunk.
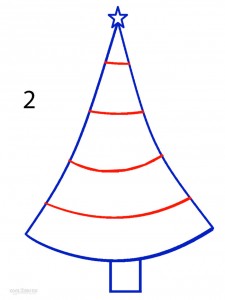
Step 2
- Now see picture 2 to make four curvy lines running through the crown outline, dividing it into five parts.
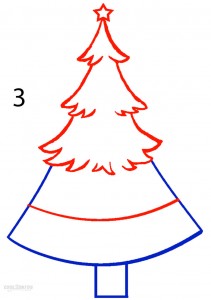
Step 3
- Follow picture 3 to replace the first three lines cutting through the crown with ruffled, curvy zigzag lines so they can give your drawing the characteristic Christmas tree appearance.
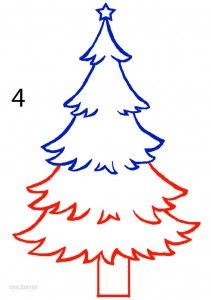
Step 4
- Check the above picture and do the same as you did in step 3 with the fourth line running through the tree as well as its lowest edge. Now your tree should look much more realistic.
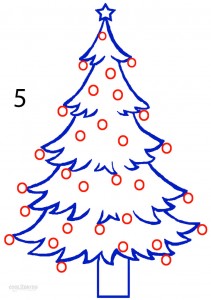
Step 5
- Draw small circles scattered throughout the surface of your tree crown for the twinkle lights as shown in picture 5.
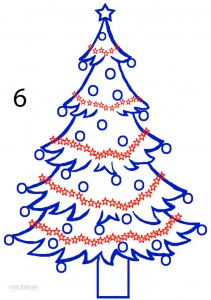
Step 6
- Next, see picture 6 and draw neat garlands formed of tiny stars spiraling the tree for some additional decoration.
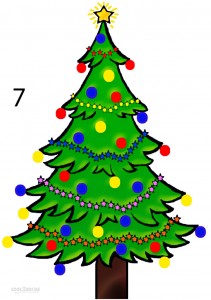
Step 7
- Now comes the fun part as it is time to fill the picture with colors. See picture 7 to find the right shade of green for the tree and then run wild with your imagination to fill the lights and decorations with bright and festive colors.



This pic is very good I drew it in my drawing book
It’s really nice 🙂