A zombie has long been associated with fear, dark and evil things. In this activity, we walk you through the steps of drawing a simple zombie for kids. It has a scary but fun look to it. It could be a creative and engaging drawing exercise for Halloween.
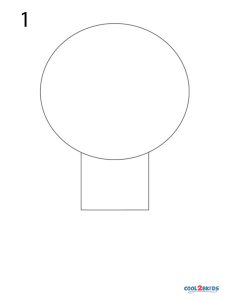
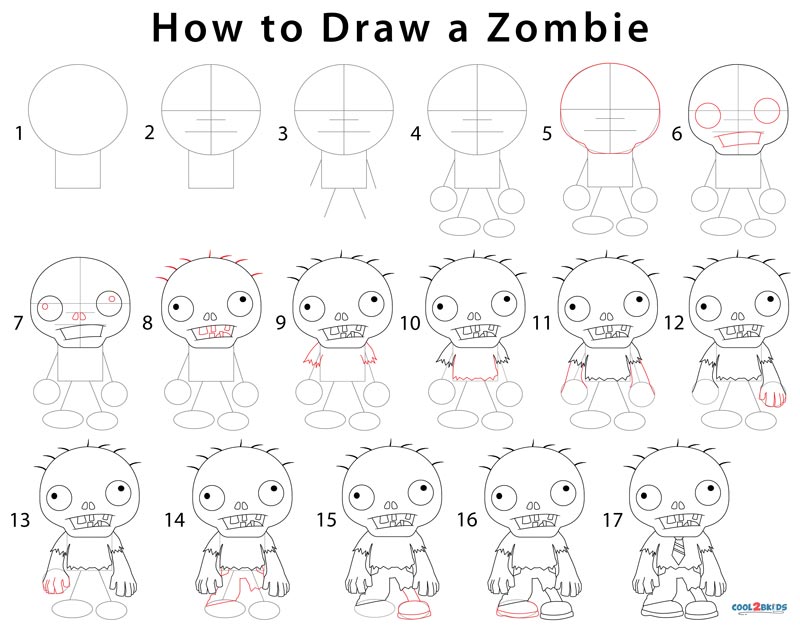
Step 1: Draw a square partially covered by a circle on top of it. They act as guides.
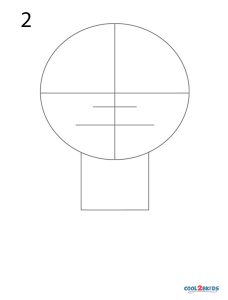
Step 2: Draw intersecting vertical and horizontal lines through the middle of the circle. Draw two horizontal lines in the lower half of the circle.
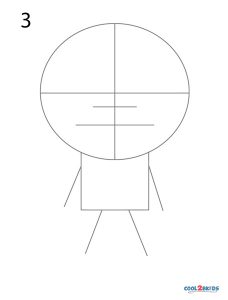
Step 3: Make slanting lines coming out of the square that serve as guides for the arms and legs.
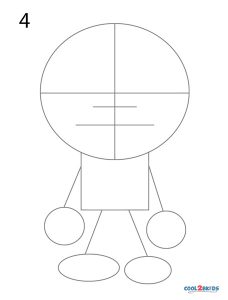
Step 4: Sketch oval guides for the feet and circular ones for the hands.
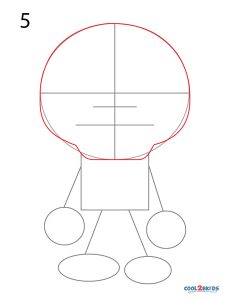
Step 5: Start detailing the outline of the face. Note that the chin is flat and broad.
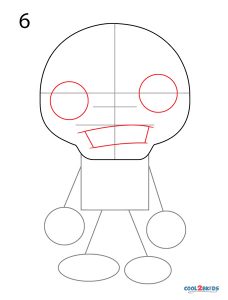
Step 6: Draw the round eyes and the slightly curved nearly rectangular mouth.
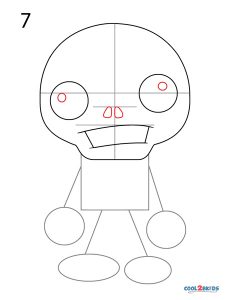
Step 7: Give shape to the pupils and the nostrils.
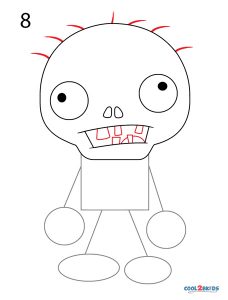
Step 8: Draw the hair on the head and the uneven teeth in front of the semicircular tongue. Make the pupils black.
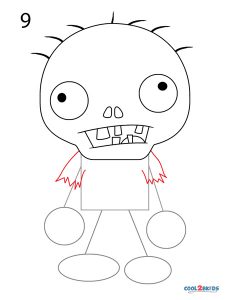
Step 9: Make the shirt sleeves with serrated edges.
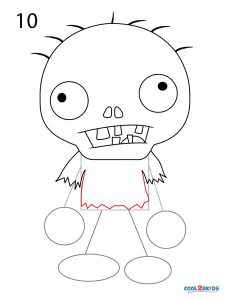
Step 10: The shirt has a serrated bottom edge too.
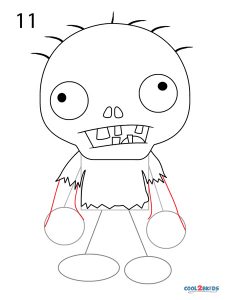
Step 11: Start sketching the arms that widen towards the front.
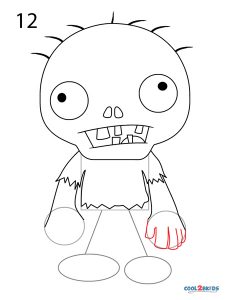
Step 12: Shape the right hand having thick fingers.
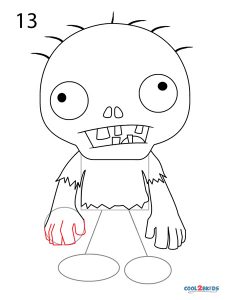
Step 13: Repeat with the left hand.
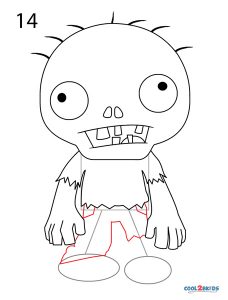
Step 14: Draw the shabby pants with irregular edges.
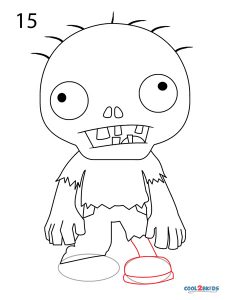
Step 15: Sketch the part of the skinny right leg that shows and the roundish shoe.
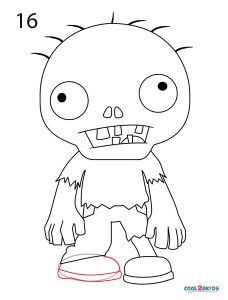
Step 16: Draw the left shoe.
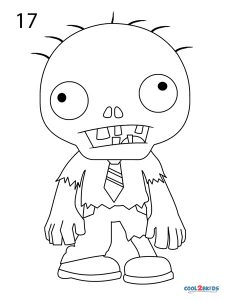
Step 17: Make a tie.
You can now put the colors of your choice on the figure. Be generous with your greens, reds, blues and blacks. The shabby dress and the eerie face are sure to give the spooks to little ones.

