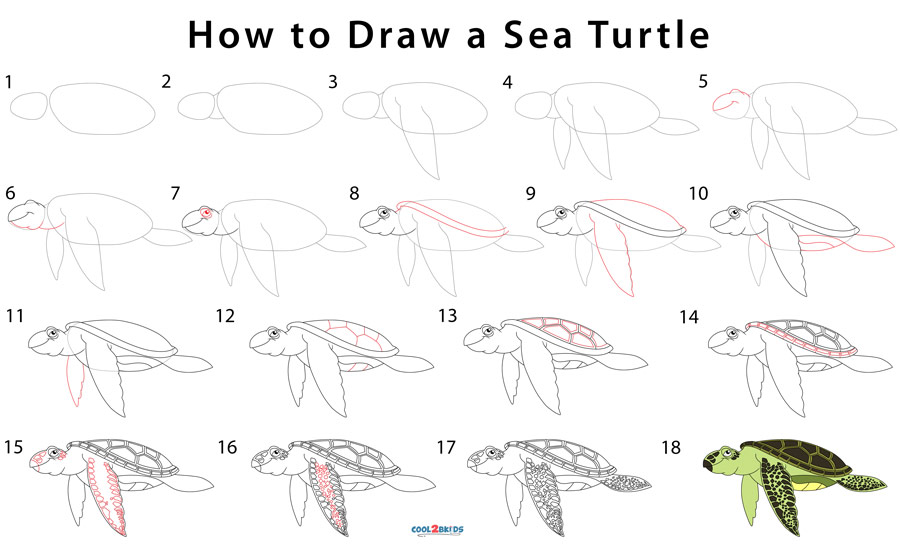
The peaceful and slow-moving reptile is the focus of this drawing exercise. It has been made easy by sketching the guides. The major part of the drawing is occupied by the large, rounded shell and the flippers. The head is small compared to the other parts of the body.
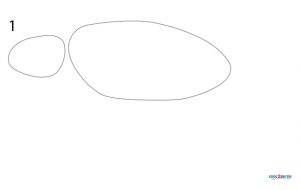
Step 1: Draw the oblong guides for the sea turtle’s body and head.
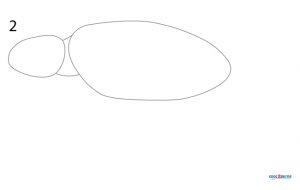
Step 2: Connect them by a slender neck guide.
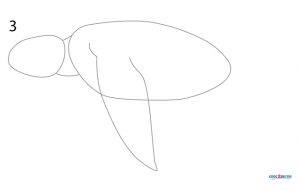
Step 3: Sketch the leaf-shaped front flipper guide.
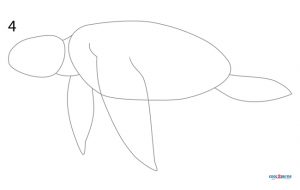
Step 4: Make the guides for the other smaller, visible flippers.
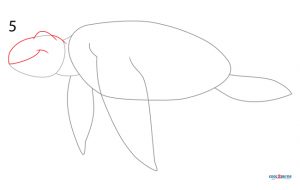
Step 5: Start detailing the forehead with overlapping arches.
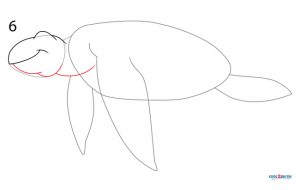
Step 6: Do the same for the lower part of the head and the neck.
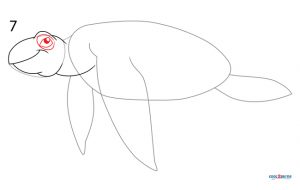
Step 7: The eye is deeply set within folds of skin.
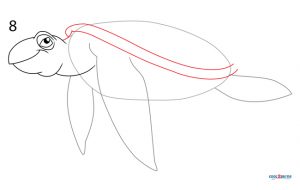
Step 8: Give a double border to the shell.
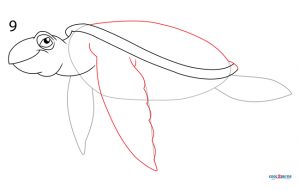
Step 9: Make the shell arch and give a serrated edge to the front flipper.
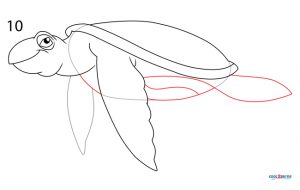
Step 10: Darken the hind flipper outline and make a designer tummy with curved lines.
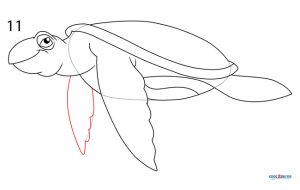
Step 11: Now it’s the turn of making the fore flipper on the other side of the body.
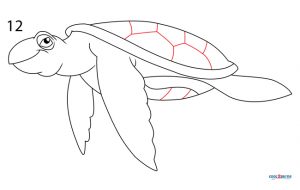
Step 12: Make box-like designs on the shell and straight lines on the tummy.
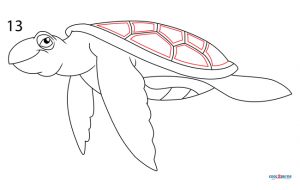
Step 13: Give double borders to the boxes.
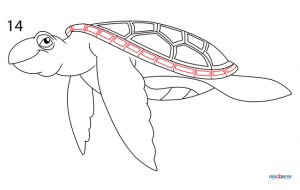
Step 14: Draw small rectangles on the narrow structure drawn in step 8.
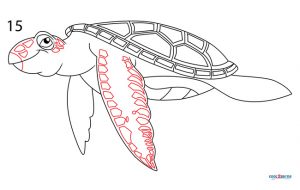
Step 15: Make angular scales on the biggest flipper and the head.
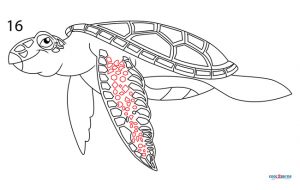
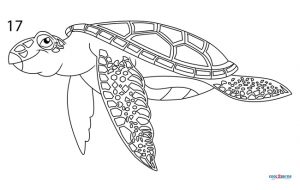
Step 16: Tiny geometric shapes of scales completely cover the flipper.
Step 17: Do the same for the hind flipper.
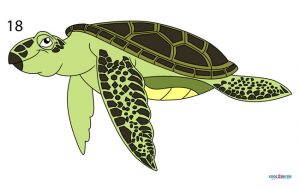
Step 18: Color the reptile.
You can either go by the color codes depicted above or choose your own palette. Since the creature is marine, dark colors work best for it. The patterns on the shell and the body is a mix of linear and curved lines. Kiddos would be filled with glee when they spot a hint of a smile on the reptile’s face.

