The snowman is an indispensable part of Christmas and winter in general. Their picture reminds us of the holiday season and fills us with glee. In this step by step, little ones would get to know the art of defining a snowman on canvas. It is pretty easy and can be drawn quickly. Note that the perfection of the drawing depends heavily on getting the circles right.
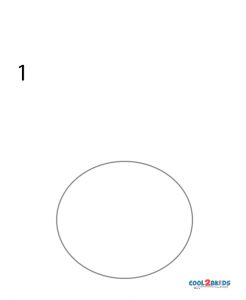
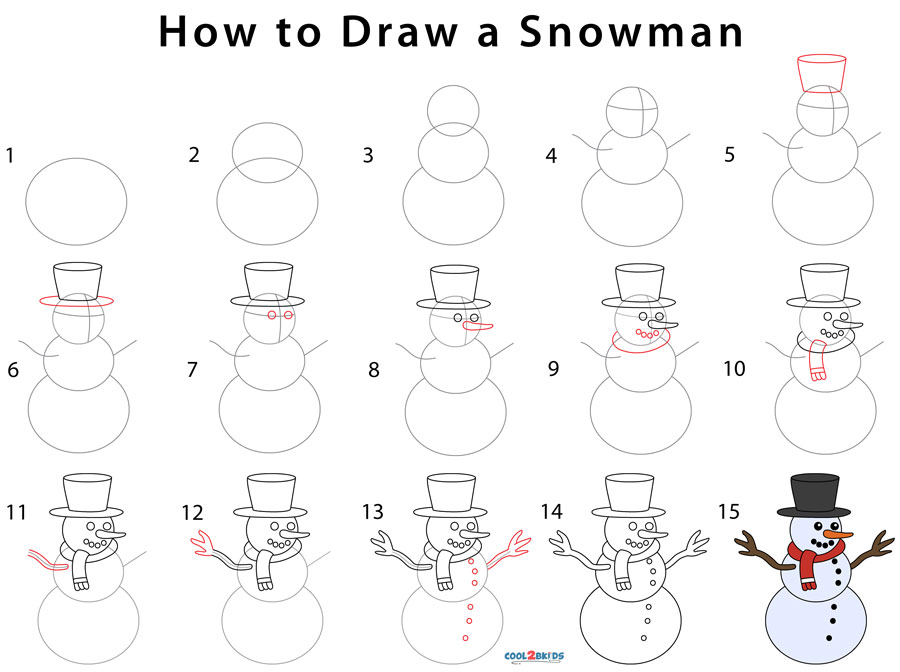
Step 1: Draw a circle.
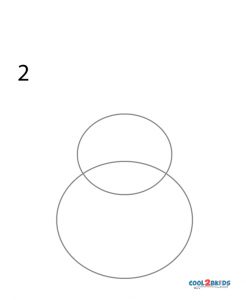
Step 2: Draw a smaller circle above, overlapping it.
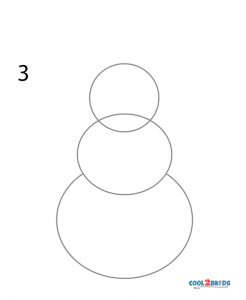
Step 3: Make an even smaller circle on top of it with some overlap.
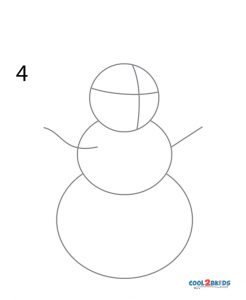
Step 4: Sketch intersecting lines on the apical circle and lines coming out from the circle below.
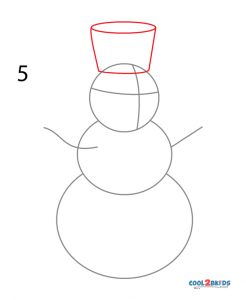
Step 5: Outline a tub-like shape on the top of the figure.
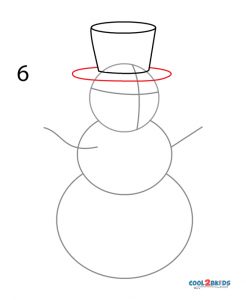
Step 6: Surround its base with an oval.
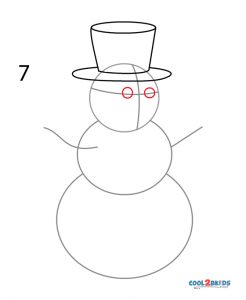
Step 7: Draw the round eyes.
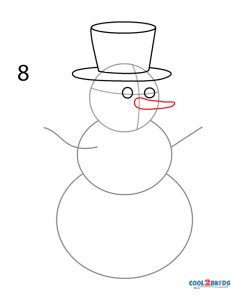
Step 8: Make the carrot-shaped nose.
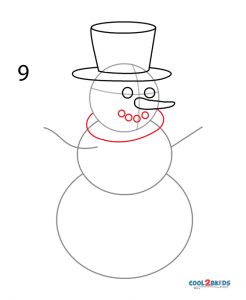
Step 9: Four tiny circles placed along an imaginary arch is the smiling mouth. Surround the base of the head with an oval.
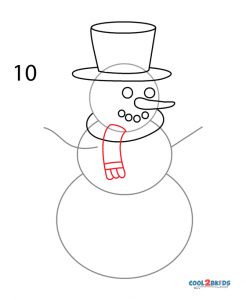
Step 10: Make the narrow end of the muffler hang out.
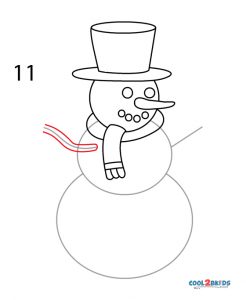
Step 11: Darken the outline of the head and start detailing the twig arm.
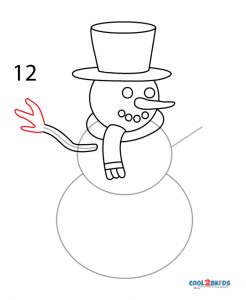
Step 12: It divides into three branches at the end.
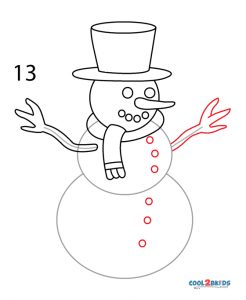
Step 13: Similarly, draw the outstretched left twig arm and the buttons on the body.
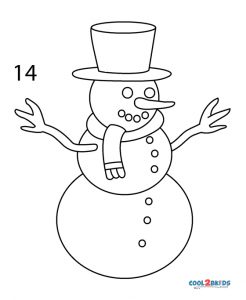
Step 14: Darken the outlines of the two large circles below the head.
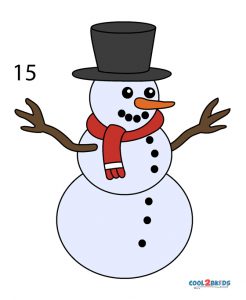
Step 15: Paint it in colors of your choice.
Children would love the looks of the cute snowman. They enjoy building snowmen during the winters and would strive to get the shape perfectly on canvas. The guides drawn in the initial steps help in making the sketch. The detailing in the form of the eyes, nose, mouth, arms and muffler lend the sketch vitality and character.

