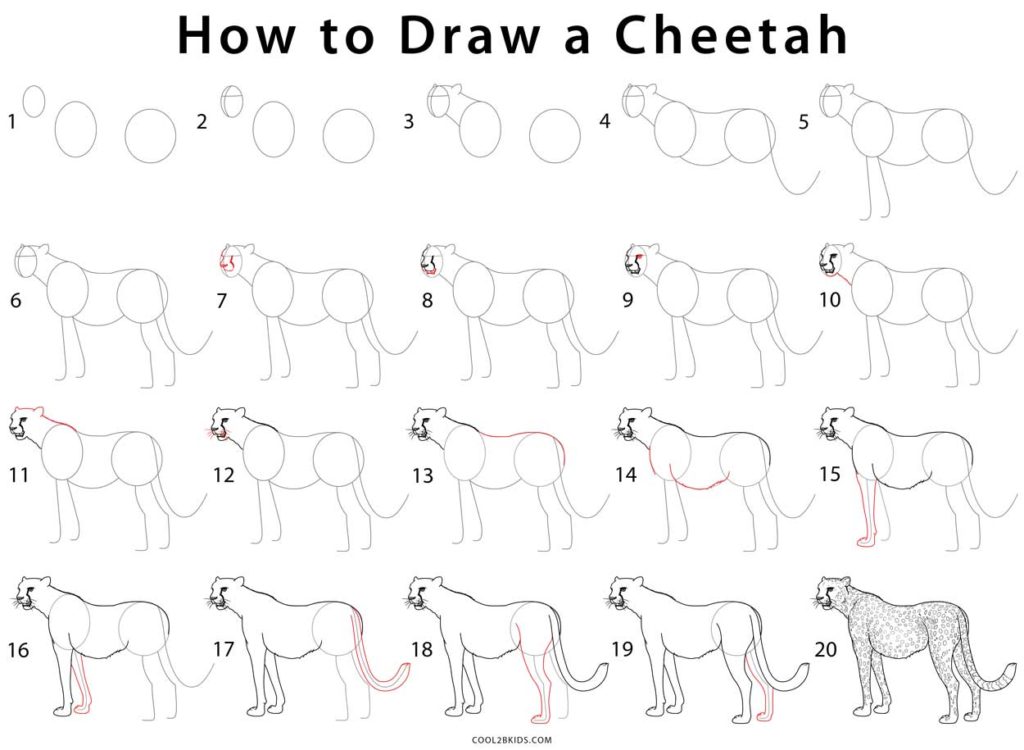
It’s always fun to draw different animals, but to get them to actually look like the ones in real life sometimes becomes difficult. That’s why here is an easy step-by-step tutorial for drawing a realistic cheetah. It’s a full body drawing of a standing cheetah, so you can draw a forest around it and create a masterpiece.
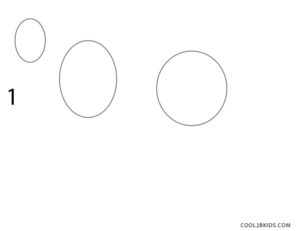
Step 1: Start with two ovals and a circle. The smaller oval is for the head and the other two are for the body.
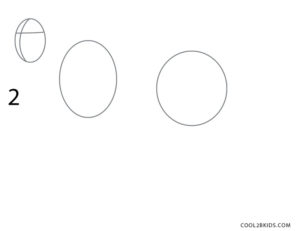
Step 2: draw the facial guidelines in the smaller oval.
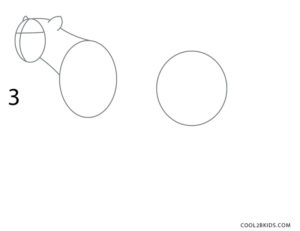
Step 3: Join the smaller oval, or head with the larger oval, with simple lines as shown in the picture, and you will have the ears and neck of you cheetah.
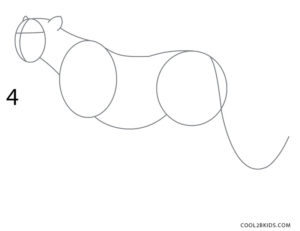
Step 4: Join the oval and the circle drawn for the body with two curved lines as shown. Also draw the guideline for the tail.
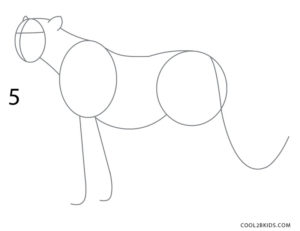
Step 5: Draw two simple lines with a curve in the end from below the oval for the body for the two fron legs.
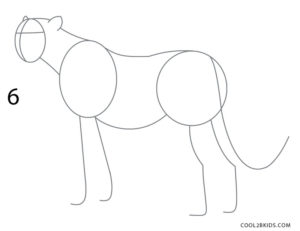
Step 6: Do the same for the hind legs, only with an extra pointy angle in the middle of the guidelines
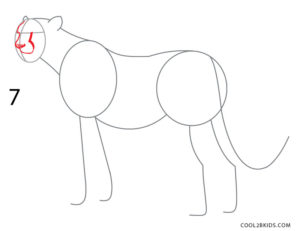
Step 7: Use the facial guidelines to draw the facial features, starting with the nose and upper jaw.
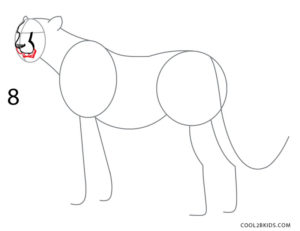
Step 8: Now, it’s time for the mouth.
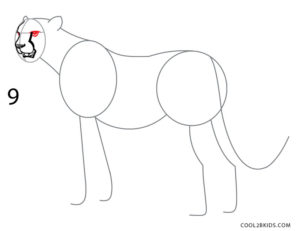
Step 9: Next, draw the only-visible left eye as shown.
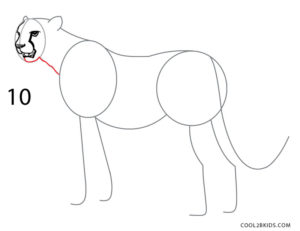
Step 10: With the face all done, it’s time to draw the lower jay and throat, using the guidelines.
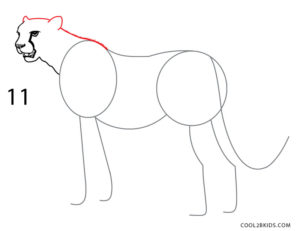
Step 11: Use the simple lines drawn in step 3, and draw the final version of the ears and the neck. Erase the facials guidelines.
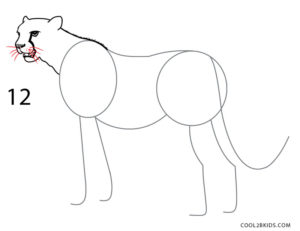
Step 12: This is an easy one, as you will just be drawing the whiskers.
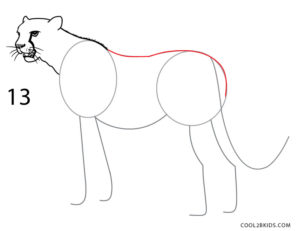
Step 13: Now that the neck is done, draw the back as shown in the picture.
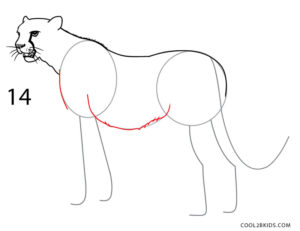
Step 14: Use the guideline, and draw a curve from the oval to the circle for the ventral side of your cheetah.
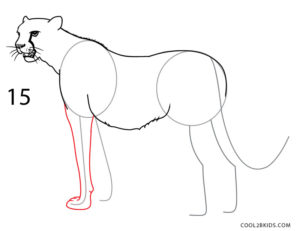
Step 15: Draw the left front leg as shown.
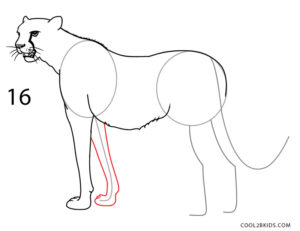
Step 16: Next, do the same for the right front leg.
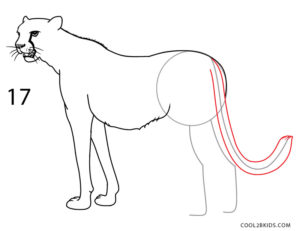
Step 17: Another easy step, as all you need to do is draw the tail, and you have a guideline for that. Also, erase the oval drawn for the body.
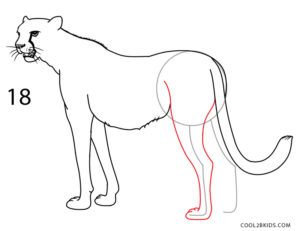
Step 18: See the picture, draw the left hind leg. See, how the little angle in the middle shapes it up so realistically? Carefully erase the guideline made for the tail.
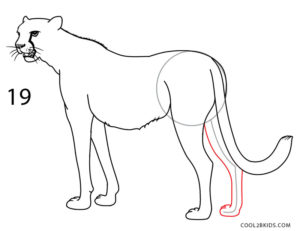
Step 19: Draw the visible parts of the right hind leg. Also erase the guidelines for all four legs.
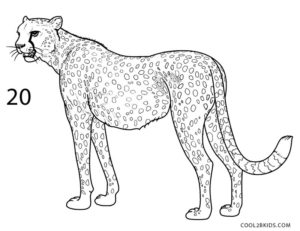
Step 20: Once you erase the last circle guideline, your drawing is basically done. All that’s left to do is to fill your cheetah with characteristic dark spots.
So, how did it turn out? You might need a bit of practice to make it perfect though. So, get to it. Once you master your cheetah, you might want to try your hand at other animals like a zebra and a hippo using the step by step instructions.



Hard.
the guidelines weren’t very helpful and destroyed the face
You can do it without the guides if you wish.