Cupcakes are small in size, but great in taste. Most of us are fans of the baked wonder wrapped in a cute foil. If they come with icings and a cherry on top, then you know that your taste buds are in for a ride. Being able to sketch it on your own could let you take your first baby steps into the world of art. What better way to start showcasing your talent than the delicious cupcake? Given below are the step by step instructions to help you with your drawing.
Step 1
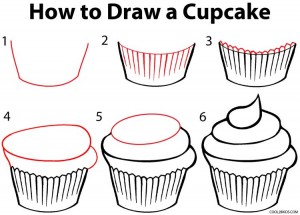
Make the bucket-like shape with your pencil as shown in the first picture. This makes the outline of the cupcake wrapper.
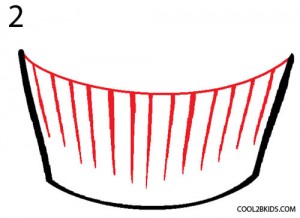
Step 2
Close the 3-sided figure by a semicircle as shown in picture 2. Draw parallel vertical lines along the upper rim starting from the top and proceeding downwards. They should end a little higher than the base of the structure. The folds of the wrapper are done.
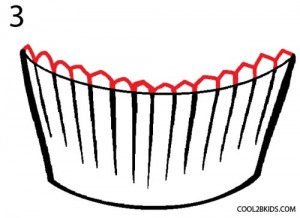
Step 3
Give a serrated upper edging to the semicircle drawn in the previous step.
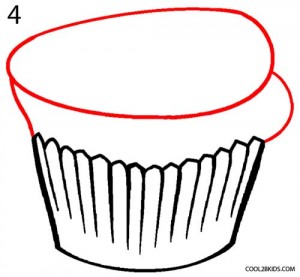
Step 4
Make an oval a little above the edging just made. Its diameter should be a little bigger than that of the semicircle. Join the oval to the wrapper with the help of arcs on either side.
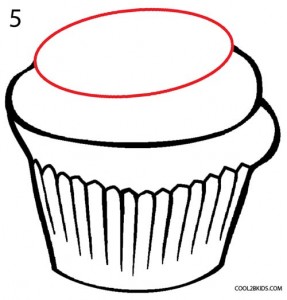
Step 5
Make another oval on top of the former one having a smaller diameter.
Step 6
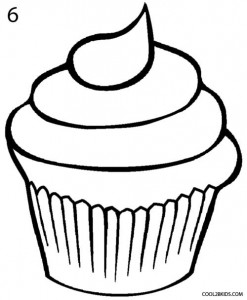
Lastly, add a small droplet on top of the cake, to complete the layers of icing.
Your cupcake sketch is now ready. Splash on bright colors of your choice to make it look even more delectable. This one is sure going to make you crave for a real cupcake.




THIS NEEDS TO TURN INTO A VIDEO!!!!!!!!!!!!!!!!!!!!!!!!!!!!!!!!!!!!!!!!!!!!!!!!!!!!!!!!!!!!!!!!!!!!!!!!!!!!!!!!!!!!!!!!!!!!!!!!!!!!!
THIS NEEDS TO BE A VIDEO!!!!!!!!!!!!!!!!!!!!!!!!!!!!!
You’ve really imseprsed me with that answer!
AWESOME
this is good
this works.
this is so cool
this is so cool
This looks so good and cool.
this is so easy and fun!!!
i drawd This 4 my bff 4 her B day
i ❤️ it