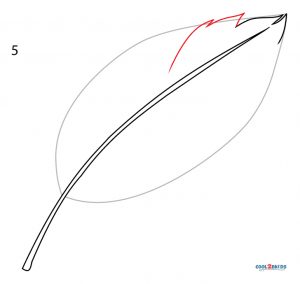
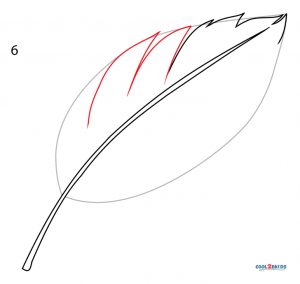
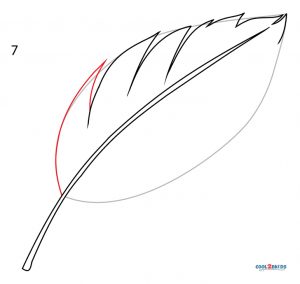
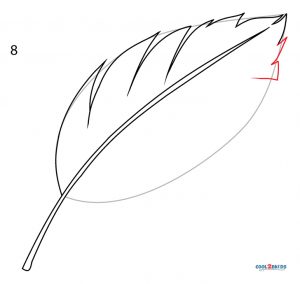
The sketch of the common feather can be a good drawing exercise for little ones. The slender and soft leaf-like structure is a basic component of the outer covering of a bird’s body. It is a simple activity that children can do in their spare time or their drawing class.
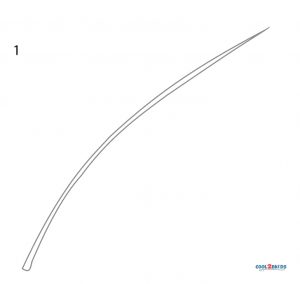
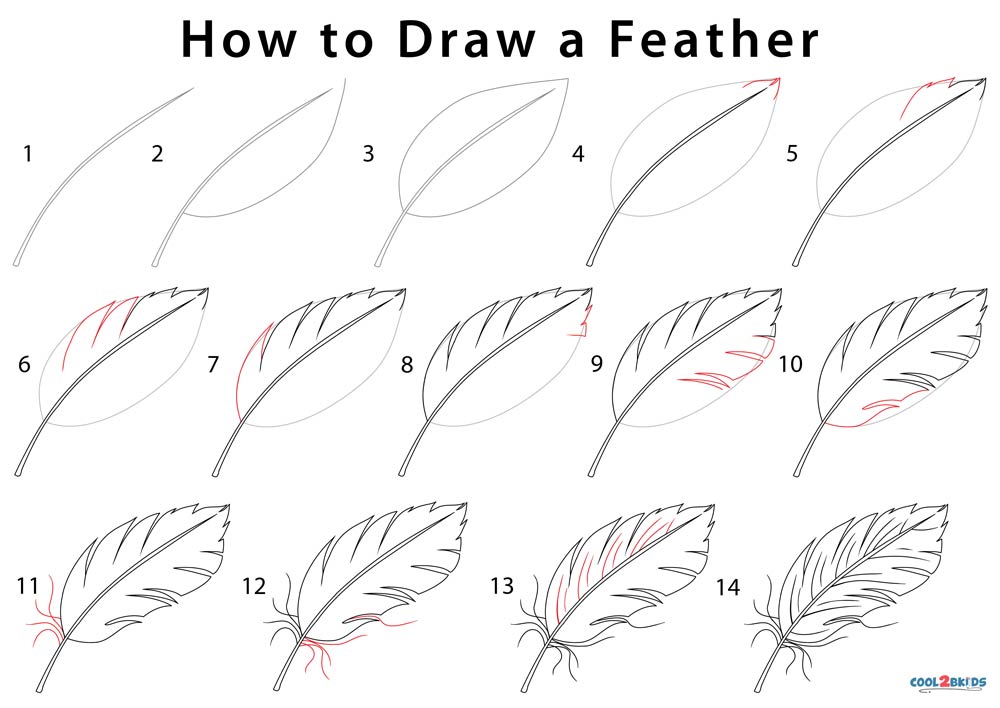
Step 1: Draw a curved and tapering double line. It is the rachis or the stiff central spine of the feather.
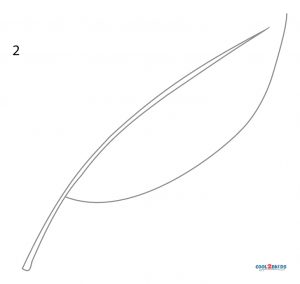
Step 2: Draw a curved arch below it, extending from one end to the other.
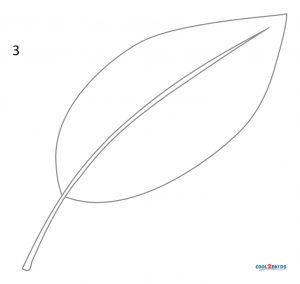
Step 3: Complete the leaf shape by sketching an arch on the other side. It acts as the guide.
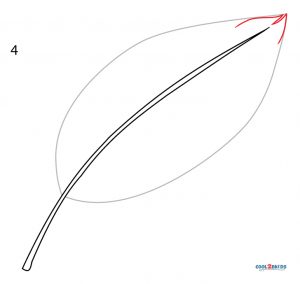
Step 4: Detail the tip.
Step 5: Begin detailing the upper edge of the feather. The outline has a flame-like look.
Step 6: Draw two curved pointed structures below.
Step 7: A third pointed structure finishes off the detailing of the feather on the upper part of the rachis.
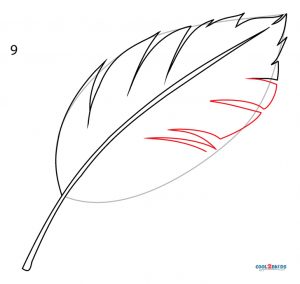
Step 8: Start drawing small pointed structures below the tip.
Step 9: Follow that up by two square-like shapes and a triangular structure.
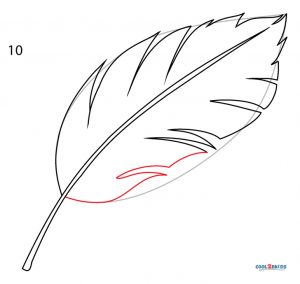
Step 10: Complete detailing the bottom part.
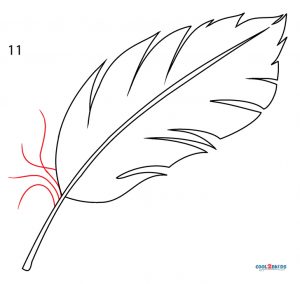
Step 11: Draw a group of curved lines that act as the afterfeather.
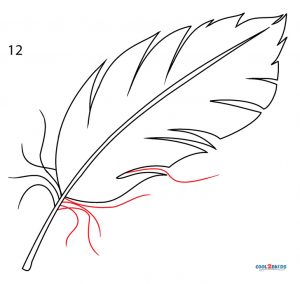
Step 12: Repeat for the other side of the calamus.
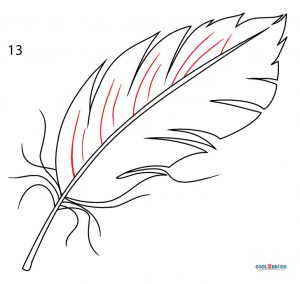
Step 13: Draw tiny curved lines all along one side of the feather.
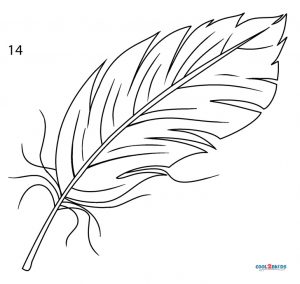
Step 14: Do the same for the other side.
There are so many beautiful jewelry that can be made out of the delicate feather. There are feather headbands, earrings and necklaces. Children use it for scrapbooking. They can also learn about the different parts of a feather by doing the sketch

