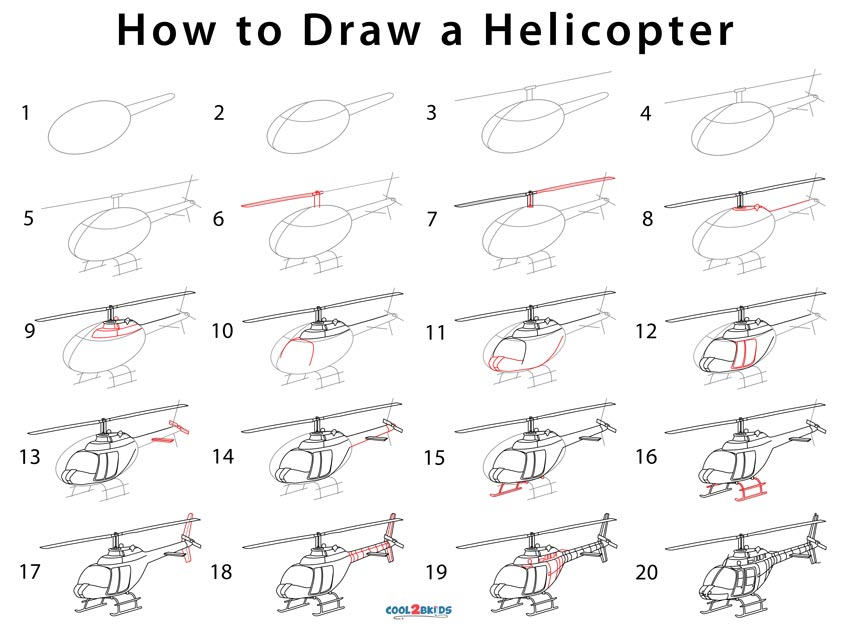
Drawing a helicopter could set your imagination free and allow your spirit to soar. It familiarizes you to the basic shapes of straight and curved lines, ovals, and cylindrical shapes. Though it might seem difficult at first, as in most cases, practice would make you perfect.
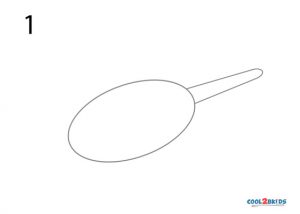
Step 1: Draw an oval with a tapered rod-like structure at one end.
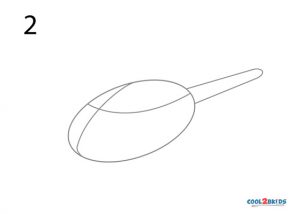
Step 2: Cross it with intersecting lines.
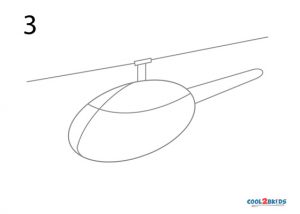
Step 3: Draw a T-shaped structure at the top with straight lines emerging out of its ends.
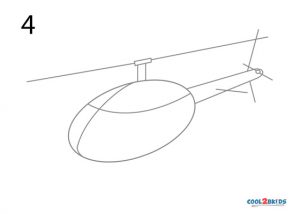
Step 4: Criss-cross lines at one end.
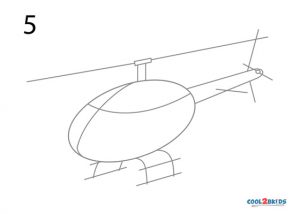
Step 5: Draw arcs intersected by horizontal lines at the base.
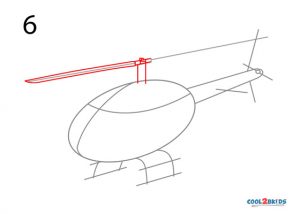
Step 6: Detail the left blade.
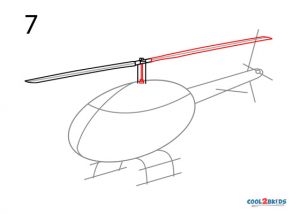
Step 7: Repeat with the right one.
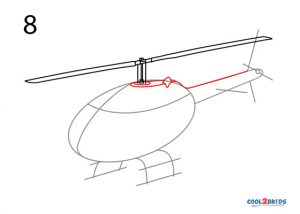
Step 8: Detail the right top boundary of the aircraft.
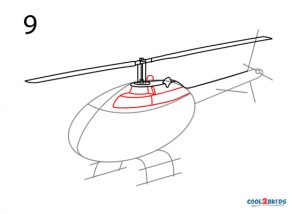
Step 9: Detail the upper half of the oval with rectangles having roundish edges.
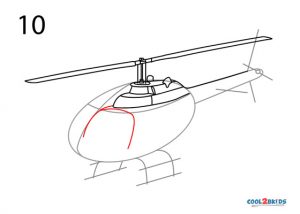
Step 10: Add an arc.
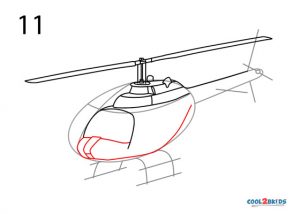
Step 11: Design a snout-like structure in the lower part.
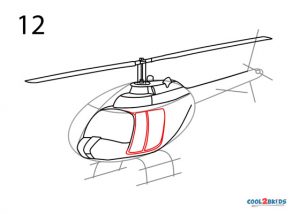
Step 12: Draw the windows.
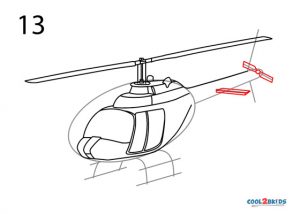
Step 13: Draw the horizontal stabilizer and tail rotor.
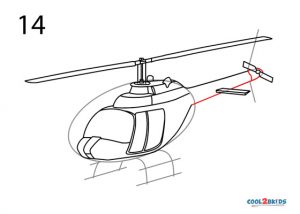
Step 14: Define the lower margin of the tail part.
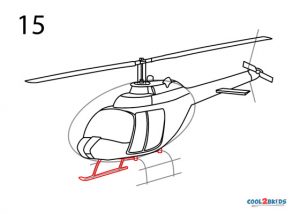
Step 15: Define a landing skid.
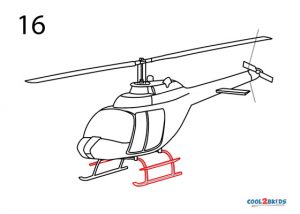
Step 16: Do the same with the other one.
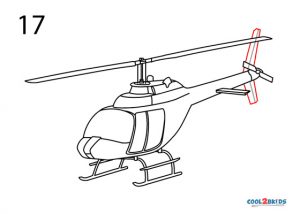
Step 17: Sketch the rudder.
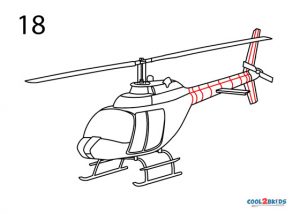
Step 18: Stripe the tail part.
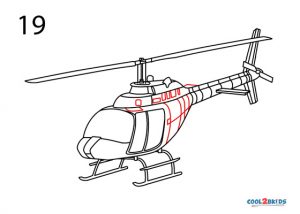
Step 19: Stripe and draw boxes on the oval body.
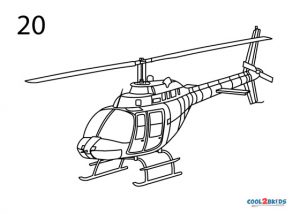
Step 20: Define the cockpit and the snout.
You shouldn’t find it too hard to complete the activity though beginners might find it a bit daunting. It’s better to try your hand at a few simpler sketches before embarking on this one. Show it to your friends or your teachers and leave them pleasantly surprised at the beautiful detailing of the work.

