Knowing to draw certain household items like a ceiling fan, a hammer, and maybe a screw driver may come handy, even if it might not seem as fun as drawing your favorite cartoon characters. So, here is an easy step-by-step drawing of a light bulb, with instructions. Give it a try, you won’t be disappointed.
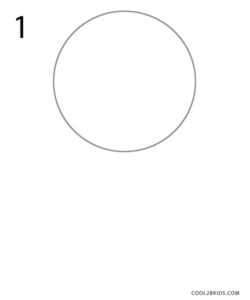
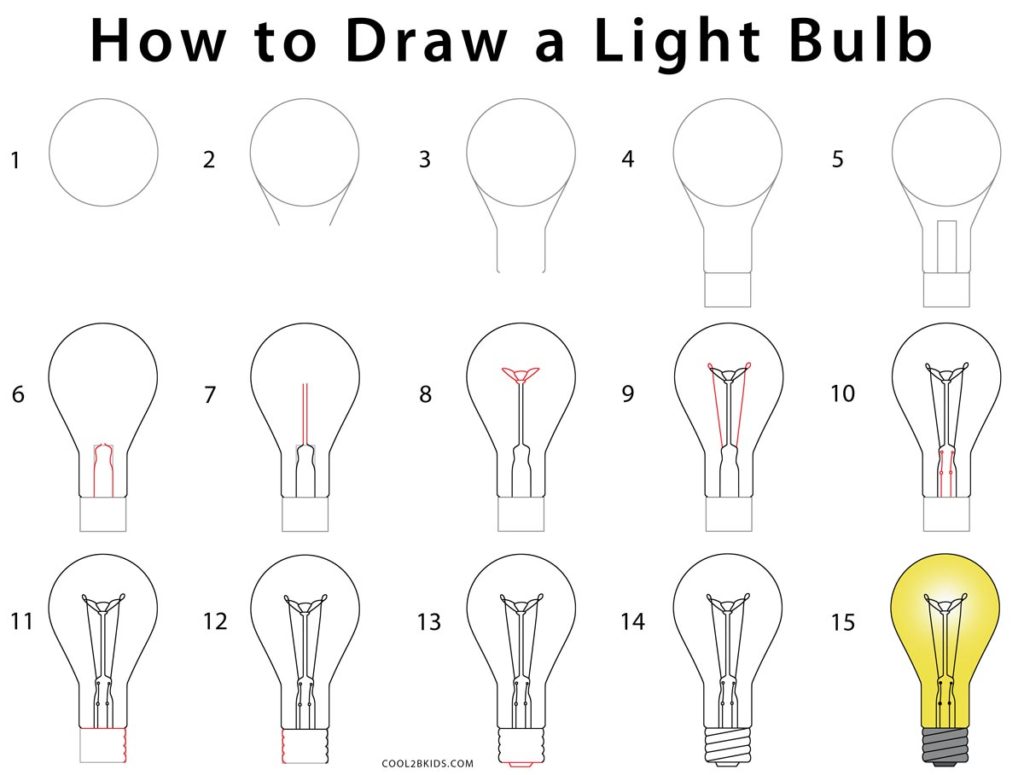
Step 1: Start with a simple circle.
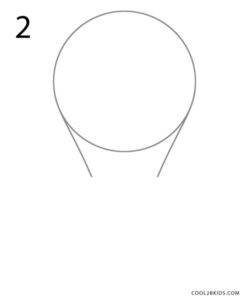
Step 2: Draw two tangent lines from the lower side of it.
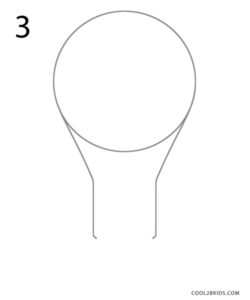
Step 3: Now, draw two straight lines as shown, parallel to each other, from the tangent you just drew.
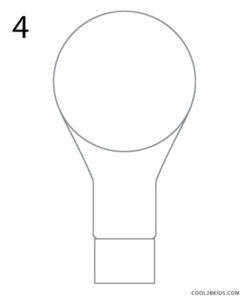
Step 4: Join these two parallel lines with a square at the bottom. You already have the outline.
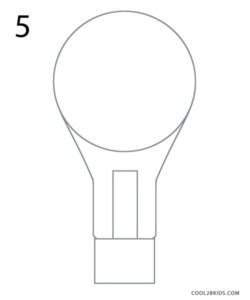
Step 5: Draw a vertical rectangle from the square.
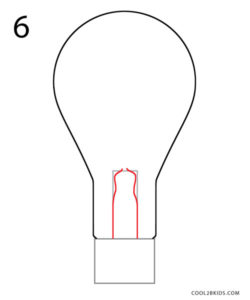
Step 6: Make small curves at the top of the rectangle, as shown in the picture. Also, erase the lower part of the circle guideline.
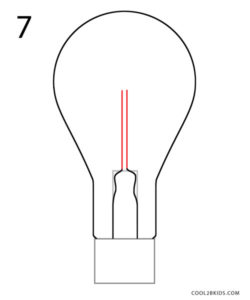
Step 7: Draw two narrow straight lines from the curvy end.
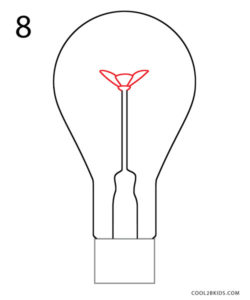
Step 8: Now, as shown in the picture, draw some curved lines for the filament.
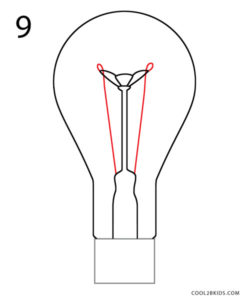
Step 9: Draw two more lines for the wires connecting the filament to the rectangular base.
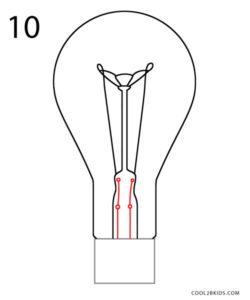
Step 10: Time to add some details in the rectangular base drawn in 6.
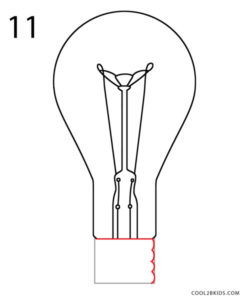
Step 11: Take the square base drawn in step 4 as your guide to draw the right side of the bulb’s metal base.
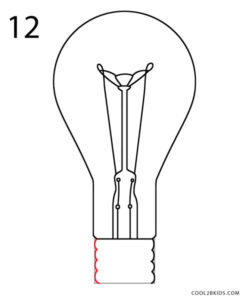
Step 12: Draw the left side of the base in the similar manner.
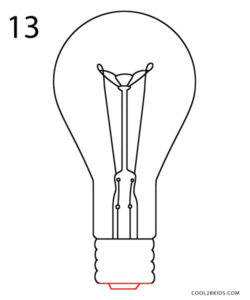
Step 13: Add a small line for the bottom surface of the metal part; it will be the electrical foot contact.
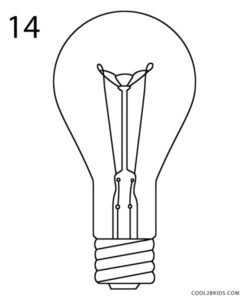
Step 14: Make some spiral lines to make the metal part look more realistic.
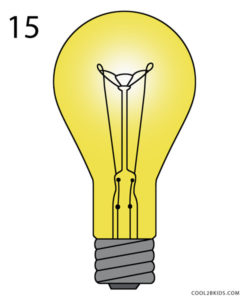
Step 15: Use a light shade of yellow to light up your bulb.
So, it must have turned out pretty neat. Even if it didn’t, don’t worry; keep practicing and you will get there. Now, you might find it useful when you are drawing some comics, as you can draw a small light bulb to indicate someone is having an idea. Not a bad idea, right?



So talented looks like real light bulb good work love it
hi thank you so much the steps helped me to draw a bulb can you show me now how to draw a battery