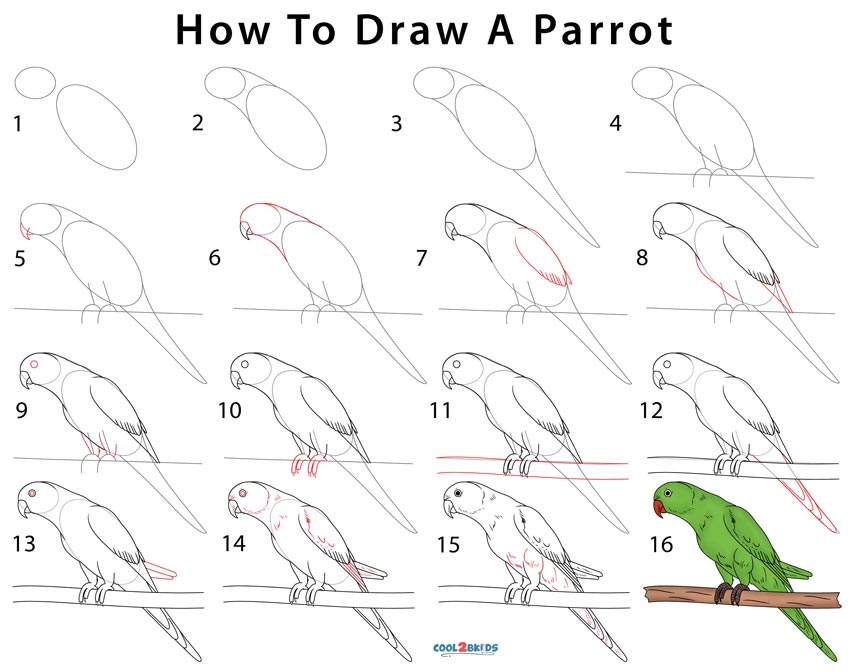
Drawing a parrot is easy and utilizes a few basic shapes. The streamlined shape of the bird is the main focus of this drawing activity. The curved beak looks lovely on the bird. In this drawing exercise, we will learn to draw a parrot perched on the branch of a tree.
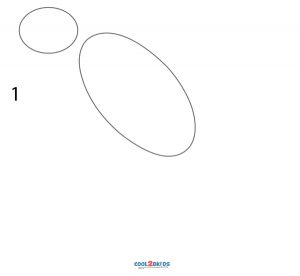
Step 1: Draw an oval and a circle as guides for the parrot’s body and head.
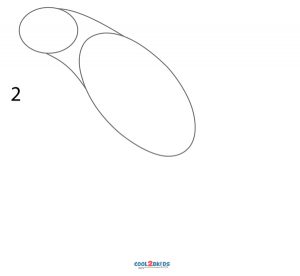
Step 2: Connect them with curved lines.
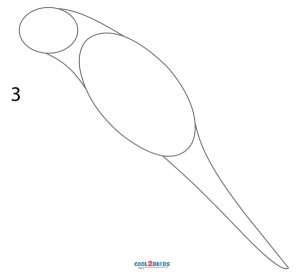
Step 3: Make a tapering guide for the tail.
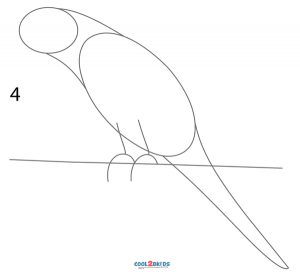
Step 4: Sketch the guides for the feet of the parrot. A straight line would be the guide for the branch on which the bird is sitting.
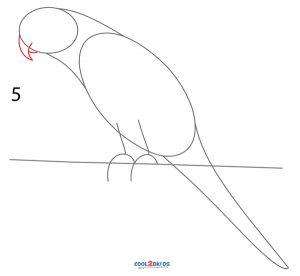
Step 5: Make the curved beak.
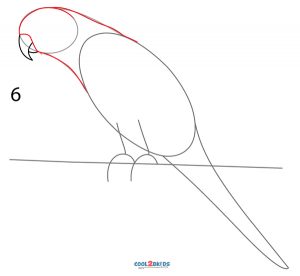
Step 6: Detail the head and neck portions.
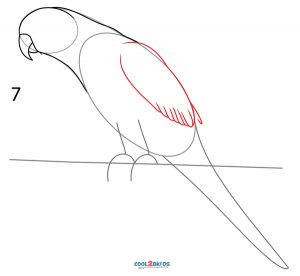
Step 7: Make the front wing.
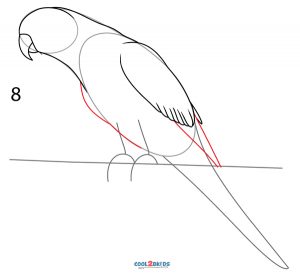
Step 8: Detail the tummy and the long, triangular part of the wing.
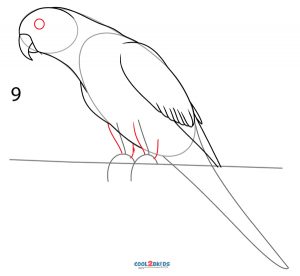
Step 9: Make the round eye and the stocky legs.
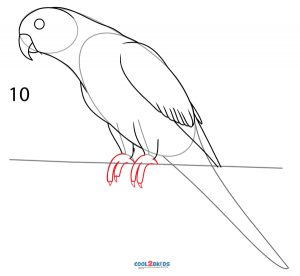
Step 10: Detail the feet and the claws.
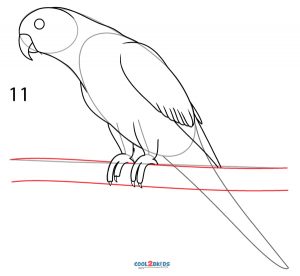
Step 11: Complete the slightly curved tree branch.
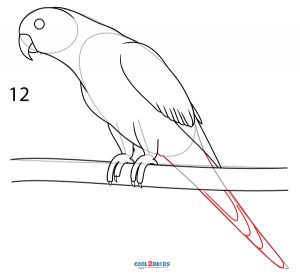
Step 12: Draw arches on the tail.
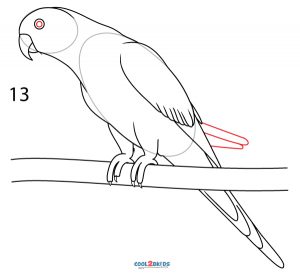
Step 13: Sketch the visible part of the wing on the other side and the inner circle of the eye.
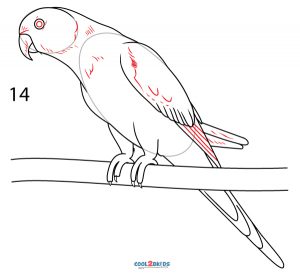
Step 14: Make tiny arches to detail the feathers of the bird on head, neck and wings.
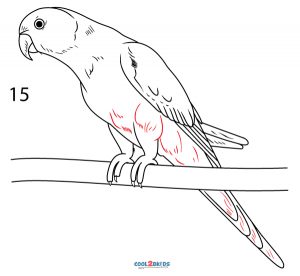
Step 15: Draw the feathers in the lower portion of the bird including the tail. Erase the guides and make the inner circle of the eye black.
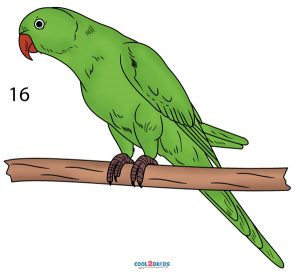
Step 16: Detail the bird’s feet and the branch with small arcs.
The parrot can now be colored green. If you want, you can partially cover its body in blue, partially in green and partially in red as there are various species of parrots on the Earth. Take the help of the guides made in the initial steps to perfect your drawing. Neatness in the art would fetch you brownie points.



I used this for my mom’s birthday card thx
Super
its too hard
Thanks bro I can do my homework easier