Animal pictures are always tricky to draw as it seems almost impossible to achieve the exact shape and size of their head, legs and other body parts. Drawing cartoony animals is a bit easier as they do not require you to be quite so particular. Here is a step-by-step instruction for drawing a cute cartoon turtle.
Step 1
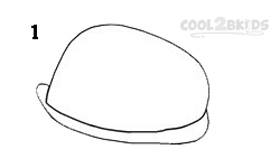
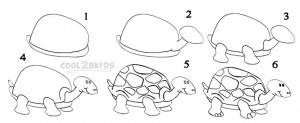
- Start by drawing a somewhat squarish half circle (picture 1). This will later be your turtle’s shell.
- Now, draw a double-lined brim covering the open side of the half circle (picture 1).
Step 2
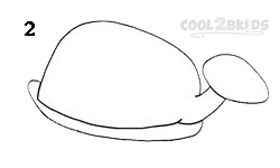
- Erase a small portion at the right side of the half circle to draw the throat (as shown in picture 2)
- Draw a small oval at the end of the neck for the head of your turtle.
Step 3
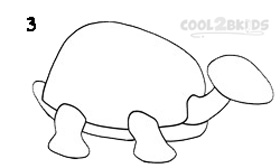
- Check picture 3 to see how to draw the shell around the neck to make it look like the head is projecting from inside it.
- Next, draw both the front and hind legs on the right side of your turtle.
Step 4
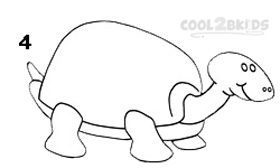
- It is time to draw your turtle’s face with a pair of eyes, nostrils and a smiling mouth.
- Do not forget to add the tiny tail as shown in picture 4 followed by a curved line above the neck opening in the shell.
- See picture 4 to draw the partially-visible left front paw. Also, redo the neck just below the head as shown in the picture to make it more realistic.
Step 5
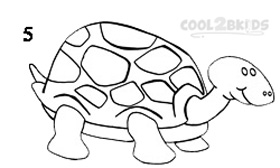
- Fill the shell you drew in step one with different sized polygons with rough corners and edges. This makes the shell look real.
Step 6
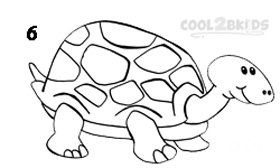
Your picture is almost done as all that is left to do is drawing the claws and filling the eyes with black as shown in picture 6.

