Frozen fans would love this activity. Why? It teaches you step-by-step how to draw Olaf, the faithful friend of princesses Anna and Elsa. The wide grinning snowman represented here would find kids get busy with their pencils and colors pretty fast.
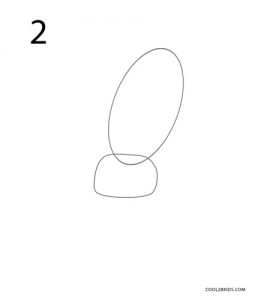
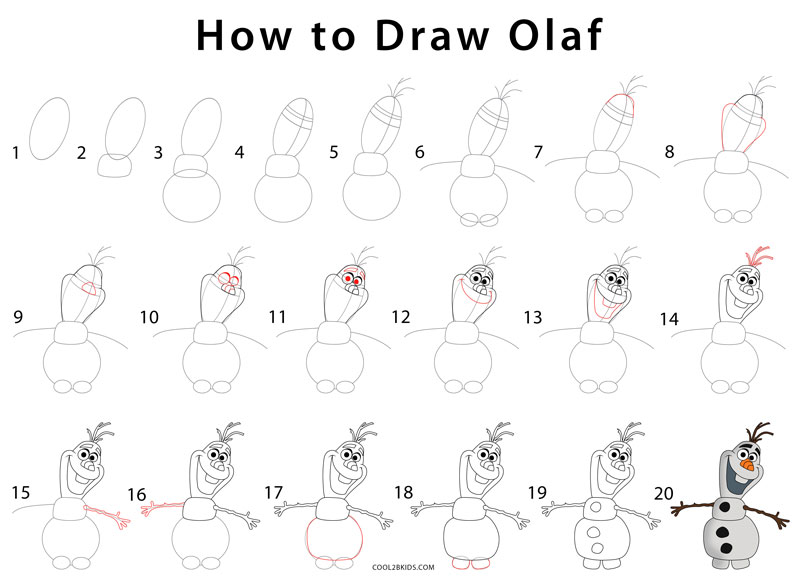
Step 1: Draw an oval.
Step 2: Make a round-cornered structure underneath it.
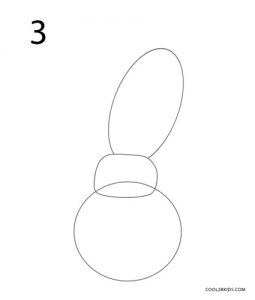
Step 3: Draw a circle below.
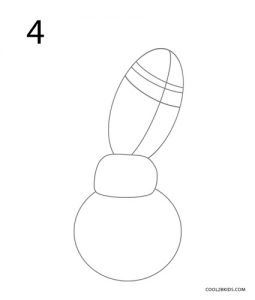
Step 4: Traverse the first oval with guides as shown.
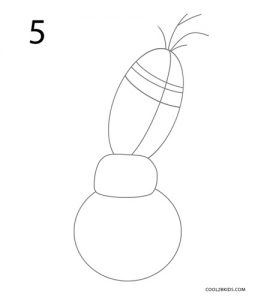
Step 5: The guides for the hair are drawn now.
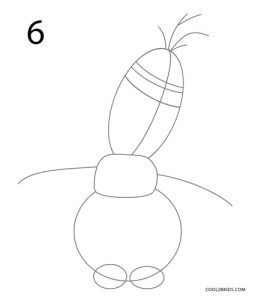
Step 6: Make 2 nearly straight lines coming out of the middle of the snowman. 2 circles at the base are the guides for the feet.
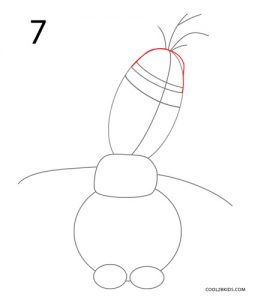
Step 7: Start detailing the head.
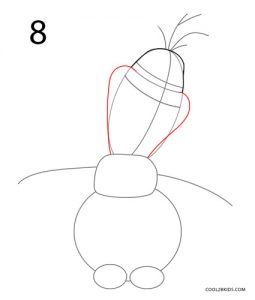
Step 8: Create 2 hook-like structures to emphasize the face.
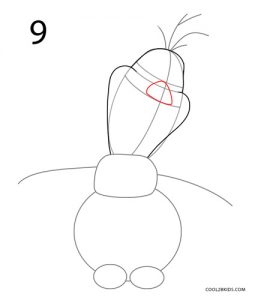
Step 9: The carrot nose is now drawn.
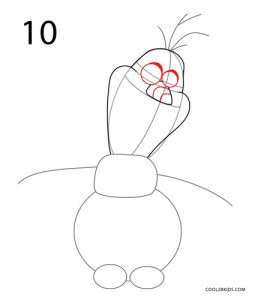
Step 10: Draw a couple of curved lines on the carrot and 2 eyes.
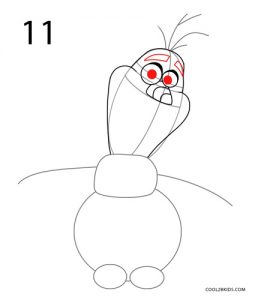
Step 11: Create the pupil and the eyebrow.
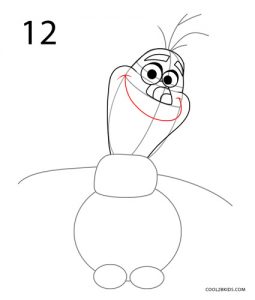
Step 12: Make a curved C-shaped structure for the broad smile. They end in similar smaller C-shaped structures.
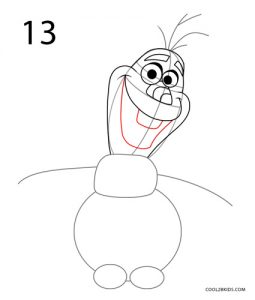
Step 13: The open mouth exposes the teeth on the upper jaw.
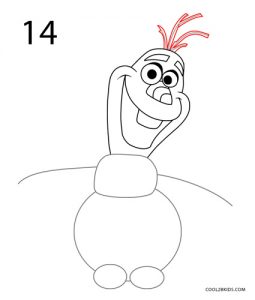
Step 14: Detail the hair that resembles branches.
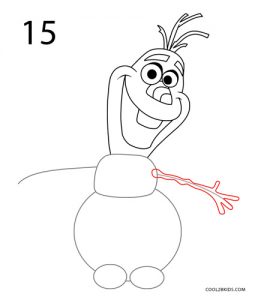
Step 15: Create the right hand that is nothing but a twig. Hence, irregularities are allowed.
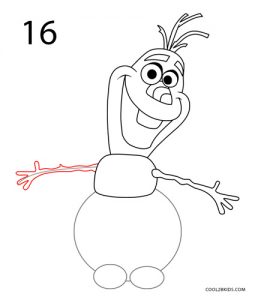
Step 16: Same goes for the left hand.
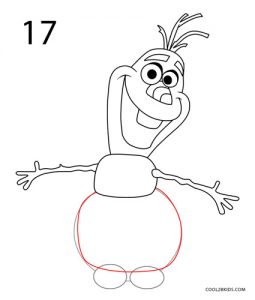
Step 17: Give detailing to the lower part of the funny snowman.
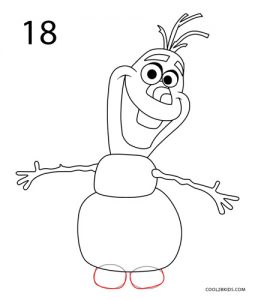
Step 18: The feet are little box-shaped forms with rounded corners.
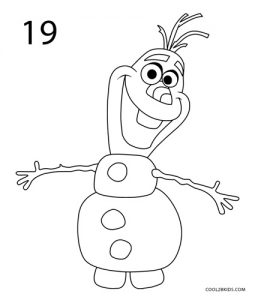
Step 19: Sketch the buttons. Note that they are not completely round. Erase guides as you finish detailing each part of the body.
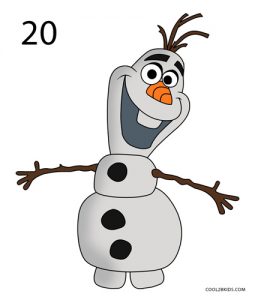
Step 20: Put on some color to complete the figure.
It goes without saying that the nose be colored orange with black for the buttons, eyebrows and pupils. Brown would look best on the twig hair and hands. The body and the inside of the mouth can be colored in varying shades of gray instead of being left white.




this is awesome i love all of them well……….i almost did all of them who thinks i can do it cause i think i can???????????????????????????
i do !!!!!!!!!!!!!!!!!!!!!!!!!!!!!!!!!!!!!!!!
I wanna give Olaf a warm hug