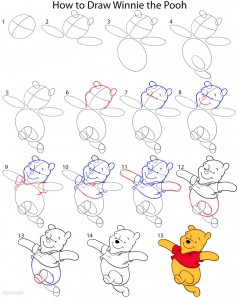
The Disney version of Winnie-the-pooh – the walking, talking teddy bear – is naturally the ultimate favorite with kids and adults alike. His simple appearance and red t-shirt might initially make it look quite simple to draw the Pooh Bear yourself. However, as you try to plan the diagram, you may feel the need of a step-by-step instruction to make the job easier. Follow the directions given here and you will be an expert in drawing Winnie-the-Pooh in no time.
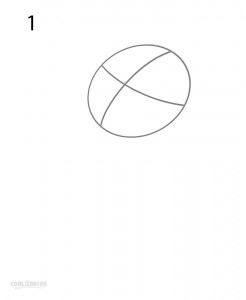
Step 1
Draw a circle for the head, followed by two curved lines intersecting each other around the center of the circle.
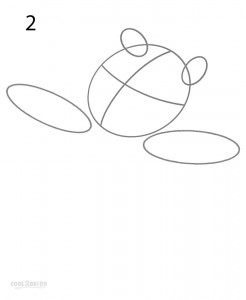
Step 2
Make the elongated oval shapes for the ears and the arms.
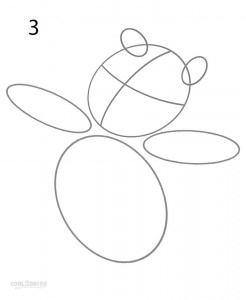
Step 3
Now, make another large oval for the bulky body of your Pooh.
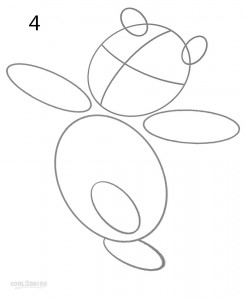
Step 4
See the picture and draw another pair of ovals for the upper legs.
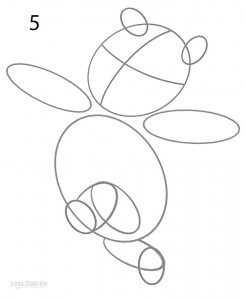
Step 5
Picture 5 shows you how to draw the outlines for the lower legs and feet.
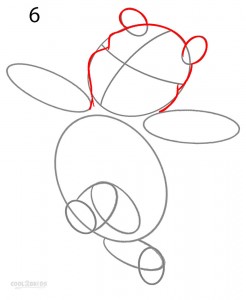
Step 6
Next, the actual work begins as you start working over the outlines to make the final drawing, starting with the head and ears.
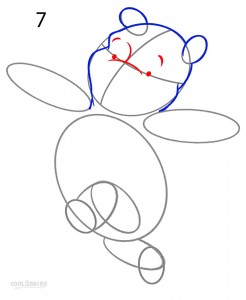
Step 7
Now the eyes and eyebrows
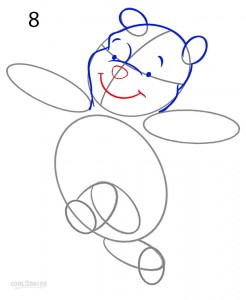
Step 8
Followed by a triangular nose and Pooh’s smiling face
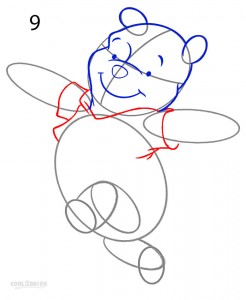
Step 9
Time to start working on his cozy t-shirt
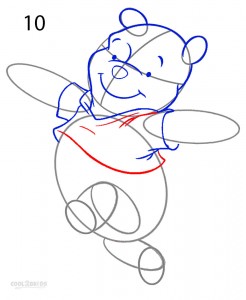
Step 10
See the picture and complete drawing the shirt.
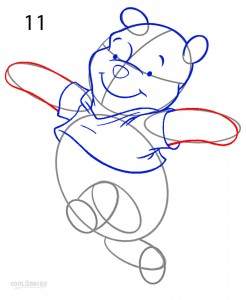
Step 11
Now, to work on those cuddly open arms
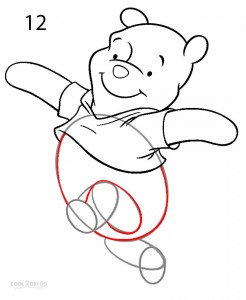
Step 12
Carefully erase any unnecessary overlapping lines running through his face, before starting your work on the left leg as shown in the picture.
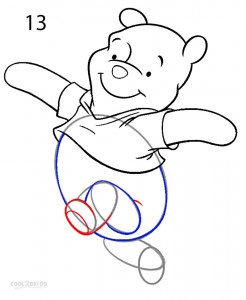
Step 13
Complete the left leg and foot.
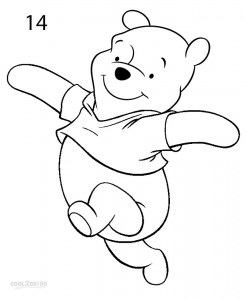
Step 14
See the picture to draw the right leg, and then erase all the unnecessary lines from the outlined drawing to complete the picture. Also, fill the nose with black.
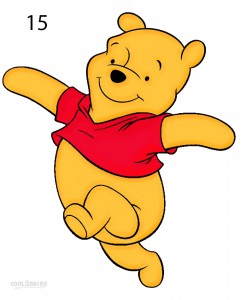
Step 15
Here is the fun part as now you get to color your own handmade drawing with the right shades of brown and red.
It is always great to be able to draw such neat drawings of your favorite cartoon characters. Once you master the basics, you can even try and draw him in different poses and activities.

