Every year, when your school football championship is around the corner, all you can think about is football. You want all your activities to be centered on the game, playing ball with friends outdoors and watching your favorite stars on the TV. Now, how would it be if you could learn to draw neat pictures of tools and accessories used in the sport? Go ahead and start with a step by step drawing of a professional football helmet.
Step 1
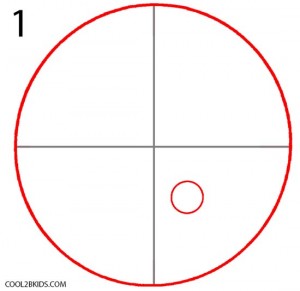
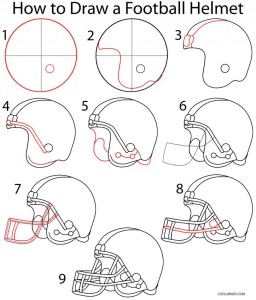
- Begin with a circle, followed by two intersecting lines along the diameter dividing the circle into four equal sections. Add a much smaller circle at the bottom right part as shown in the above picture.
Step 2
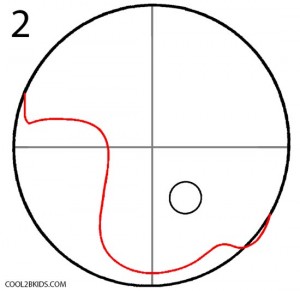
- Now, see picture 2 and draw the curved line as it is shown. Use the intersecting lines as your guide so you can keep each curve in place.
Step 3
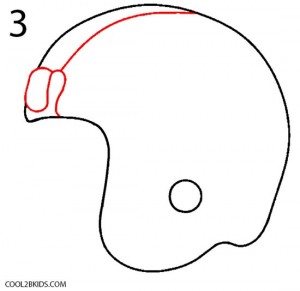
- Carefully erase the lower part of the circle, below the curved line drawn in the earlier step, as shown in picture 3.
- Also, see the drawing and work on the front part of the helmet as shown.
Step 4
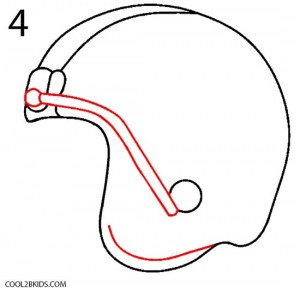
- Now it is time to work on the details of your helmet, starting with the lines for the borders, joining the small circle from step 1. Don’t miss the line made on the ear guard part.
Step 5
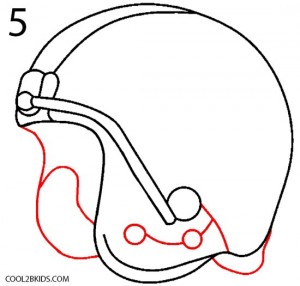
- Add a few more simple lines to make the padding on the right side of the helmet along with some other details as shown in the picture.
Step 6
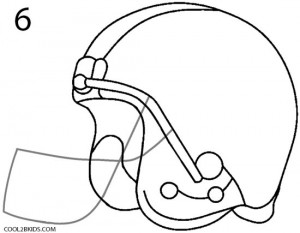
- Next, follow picture 6 and work on the outline of the face mask part.
Step 7
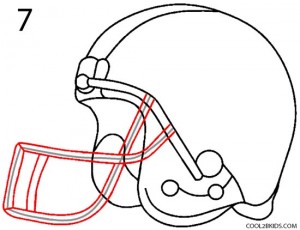
- Work on the face mask to make it double lined, so it looks more realistic as in picture 7.
Step 8
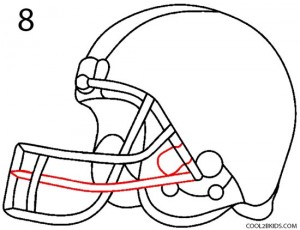
- Follow the picture and add another double lined metal bar below the one made in step 7, so the helmet is ready to provide full protection to your face.
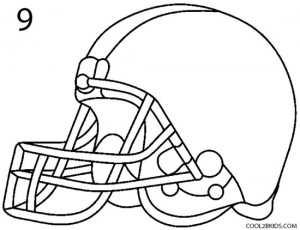
Step 9
- Your pencil drawing is done; so, now you can fill the picture with any color. Use the colors of your favorite team maybe?
Now that you know how to draw a helmet, how about trying your hands at some of the other accessories? Or maybe you can go ahead and try to draw a football player in action. Take out your crayons and color pencils and get to work!

